Sanding Redwood

Let’s talk about the first step of finishing your own redwood – sanding. Firstly, the most important rule for sanding redwood is simple – don’t overdo it! Secondly, the best advice we can give is to begin with the finished product in mind. This tutorial is for non-professional woodworkers and DIY woodwork. So, if you are new to working with redwood, read along.
Wood finishing can be fun and easy. Take your time, don’t rush through finishing a fine piece of redwood furniture. Imagine how it will look finished in your home. It is always better to dedicate a little extra time and attention to achieving the best results. The most critical part of finishing a piece of furniture happens before you open a can of stain or finish of your choice. A thorough sanding is often the factor that separates decent results from professional, high-quality redwood furniture.
While it may be tempting to do this project low-cost, it is important to not buy cheap sandpaper. Sanding redwood requires quality sandpaper. Cheaper alternatives will end up costing you more in the long run, because the cheap bonding agent makes you go through it faster. On the other hand, buying quality sandpaper in bulk will save you money and even leave you with more products to use in the future.
Choosing the Right Sandpaper for Sanding Redwood
The 3 most common types of sandpaper you will find are:
- Garnet: Commonly used in woodworking and designed for hand sanding.
- Aluminum Oxide: The most common in the widest variety of grits, lowest unit cost; can be used on metal (i.e. body shops) or wood.
- Silicon Carbide: Available in very coarse grits all the way through to micro grits, common in wet applications.
Sandpaper comes in a number of different shapes and sizes:
- Sheet: Usually 9″ x11″, but other sizes may be available.
- Belt: Usually cloth-backed, comes in different sizes to fit different belt sanders.
- Disk: Made to fit different models of disc and random orbital sanders. Maybe perforated for some models of sanders. Attachment includes a pressure-sensitive adhesive (PSA) and “hook-and-loop” (similar to Velcro).
- Rolls: Known as “shag rolls” by many contractors.
- Sponge: For tight spaces, edges, and corners.
Grit Guide for Sanding Redwood
Sanding can be messy, so we recommend some kind of dust collection system. We recommend you don’t sand and finish in the same room. We sand in our yard and have a separate space for finishing.
Redwood is softwood, so we recommended you start with 120 grit sandpaper. If you are starting with something rough that might have been milled with a chainsaw, you might want to start and 36 grit, then go to 60, then 80, and progress in steps up to 220 grit.
Proceeding through the grits in a progressive manner will give you the smoothest finish, and the general consensus seems to agree on 220 grit being the sweet spot.
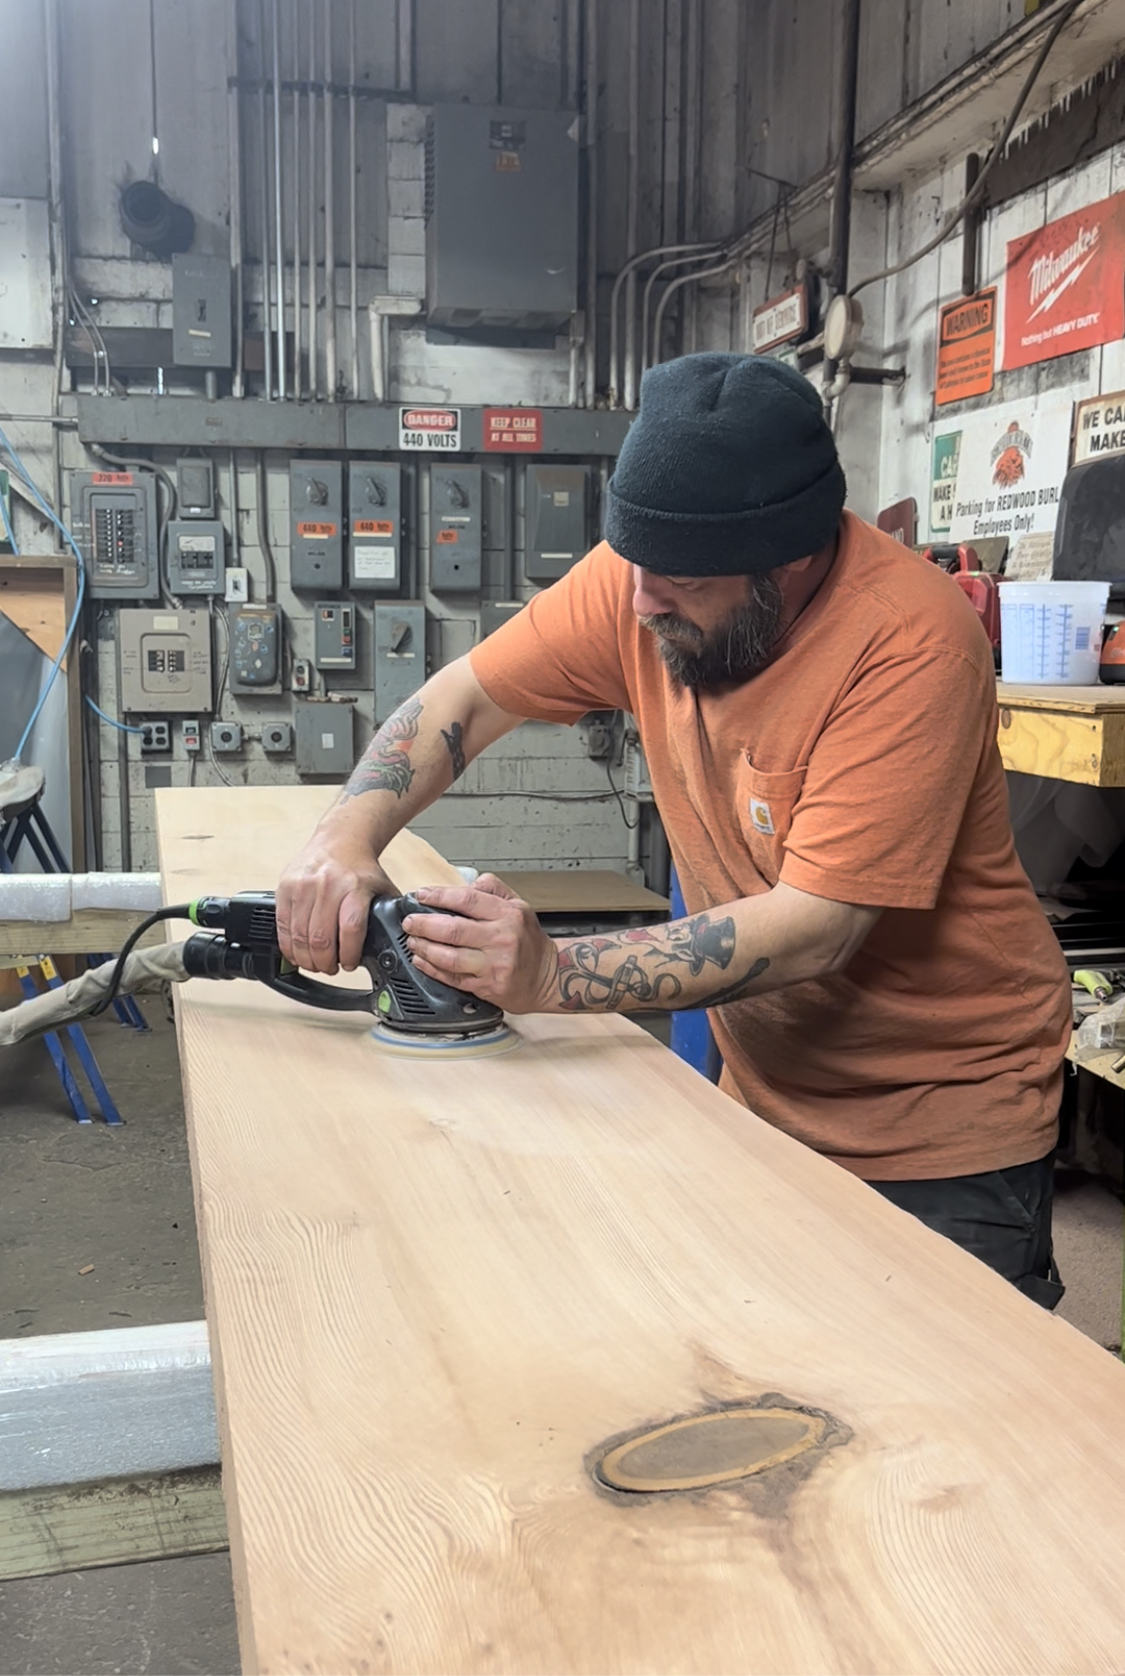
If you have a home shop like us, your best tool choice for surface prep is going to be a good quality orbital sander up to about 150 grit, then hand sand to 220 grit.
Always sand lightly, and sand with the grain. When using tack rags (a special type of wipe cloth, treated with a tack material used to remove loose particles, dust, and dirt) make sure they are oil-free.
Sanding redwood before applying the finish is paramount. When you get to the point where you are ready to finish, make sure your room temp is above 65°. If you have any type of control over the humidity, it should be around 50%. Make sure you are not working near any vents or drafts, and out of the sunlight. Sunlight will warm the wood and release any trapped moisture, creating bubbles in your finish.